
Brand new ???? MSD 8985 Timing Tapes ????
Original price was: $5.59.$3.91Current price is: $3.91.
- Have the best deals
- Experience Quality, Shop with Us
- Shop with confidence, we guarantee quality.
- Experience the difference quality makes.

Accurate ignition timing is one of the most vital adjustments you can make to your engine. Proper timing can mean the difference between winning and losing a race or even blowing an engine (as a worst case scenario). Recognizing the importance of the timing, MSD offers these timing tapes. The MSD timing tape comes with eight different tapes to fit common balancers ranging from 5.25 In. to 8 In. in diameter. The tapes are marked off in one degree increments from 14 Degree ATDC to 64 Degree BTDC and are printed on a tough, chemical resistant material. Not only do the MSD timing tapes help you get an exact timing setting, they allow you to see exactly where the total timing is set. Remember, the total timing is just as critical as the initial timing and the MSD timing tape will help you ensure that it is set accurately.
- Comes with 8 different timing tapes
- Fits common balancers from 5.25 to 8 In. diameter
- Marked in 1 degree increments from 14 to 64 BTDC
- Helps set your timing where you want it
8 reviews for Brand new ???? MSD 8985 Timing Tapes ????
Add a review
Related products

Engines & Engine Parts


Engines & Engine Parts
Engines & Engine Parts
Engines & Engine Parts
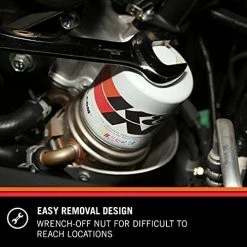
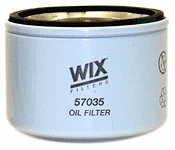
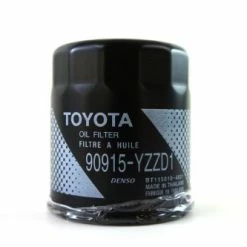
Outlet ???? WIX Filters – 57035 Heavy Duty Spin-On Lube Filter, Pack Of 1 ⌛
Engines & Engine Parts
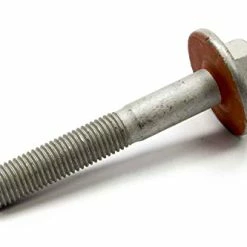
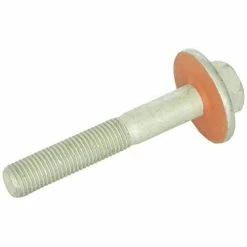
Best reviews of ⌛ GM Performance Parts 12557840 Balancer Bolt ✨

Engines & Engine Parts
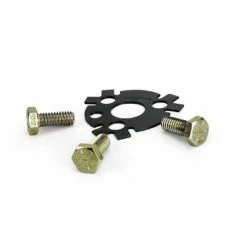
Best deal ???? COMP Cams 4605 Cam Lock Plate For Chevrolet V8 ✔️
Engines & Engine Parts
Engines & Engine Parts
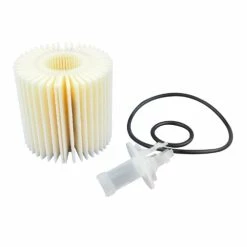
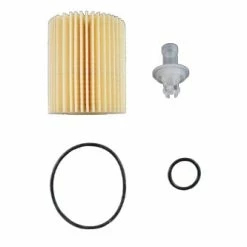
Flash Sale ⭐ Genuine Toyota 04152-YZZA5 Replaceable Oil Filter Element ????
RL in MD –
I painted my torsion balancer and the TDC could barely be seen and the degree marks were totally covered. I used a Sharpie to trace theTDC line.The MSD timing tape is perfect. As others stated, you have one shot at putting this on.First, be sure the surface is clean, clean, clean. Otherwise, this or any other tape will not adhere.To install, I cut out my decal AND paper backit (8″ balancer). Next, with paper still attached, I lined up the decal to where it should be placed. Then I used a strip of masking tape (easily removable type) toward center of decal to secure the edge and keep it from moving – but leaves one end not secured. I added another piece in the center, just to help ensure the decal wouldn’t move. Next I removed the paper backing from one end that was not secured, and used a blade tocut away the paper backing. Then I carefully attached this loose end of the decal to the balancer.Now that the one end of the decal was secured, I then removed the masking tape, removed the remaining paper backing, and then carefully attached the rest of the decal.I’ve used this method in the past to adhere stencils for paint stripes and other things.If you do it this way, your decal will attach perfectly. Good luck.
darren kirkman –
Used on a 1970 Roadrunner just clean balancer with IPA n dab a little supper glue on the ends
Shawn Robinson –
Have not installed yet,maybe this weekend. It will make it easier to find the mark!
Darv R. –
I cleaned the balancer very well with brake cleaner plus used clear 2″ tape and cut to fit after installation on balancer. I just did this so i really don’t know how well it will stay on but seemed to be permanent.
ks user –
Ease of use
Amazon Customer –
Great to have all the sizes on 1 sheet, Found correct diameter and after cleaning the balancer, It stuck in place no issues
Gordon Elliott –
easy to read:)
William M Bradbury –
Make sure it’s in right place. Won’t come off